Is it just us or is it so fun to create your own home decor that can be repurposed for every season? We love this simple DIY crate planter that you can change to reflect any message/season that works for you.
Also, it never hurts to have a cute way to show off your favorite plants, right? (And it looks beautiful on the front porch of one of our sheds (if we do say so ourselves)

Here’s what you will need to get started:
- Wooden crate
- Small chalkboard
- School glue or hot glue gun (whichever you prefer)
- Black ink or Vintage effect wash (both shown here)
- Paint brush
- Sponge brush
- Sponge
- Chalk or Chalk pen
- Chalk paint in your desired color (we chose white)
First we mixed about 5 drops of black ink into 1 cup of water.

Then we used the sponge brush to lightly distress the chalkboard. Once you distress to your liking, set it aside to dry.

Then you will paint the entire crate with the chalk paint you have selected.

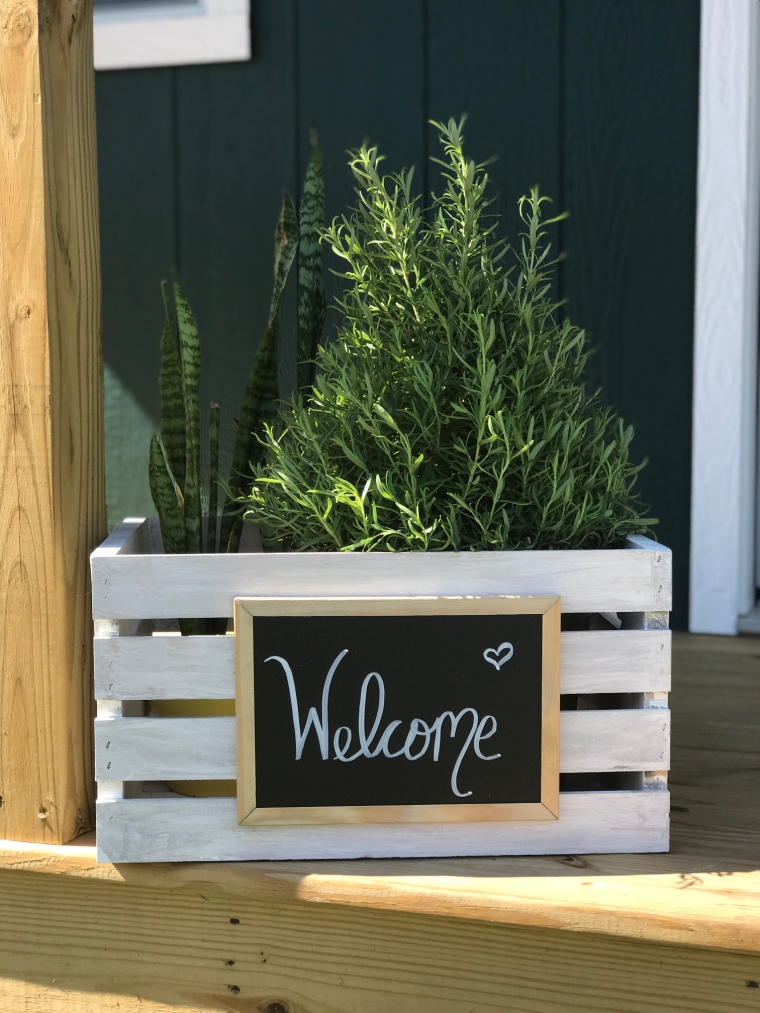
While this is drying you can write on your chalkboard. (We went with a simple “Welcome”)

Once your crate planter has dried you can use the sponge brush to apply the ink to the box. We painted one slat at a time and then wiped it immediately with the sponge to create a distressed look.


Once you have distressed the entire crate, set aside to dry. Once dry you can add glue to the back of your chalkboard and affix to the crate planter.


Let dry then add plants of your choosing!
Now you have an adorable crate planter than you can change out for every season!

Check out our Porch Refresh for more ideas for your outdoor space.